If you’re wondering how to plan a room layout, you’re in the right place. I firmly believe that every beautiful room starts with a plan, and it’s only after you have the layout just right that you can purchase your items with confidence, no mistakes, and effortless results.
Planning a room layout in advance helps you answer questions like:
- What size sofa should I get?
- Do I have room for one or two accent chairs?
- How should I place my seating around the TV or fireplace?
- Where should I place end tables to have lamps reach powerpoints?
- And more…
Today, I’ll be taking you through 5 steps that I use and teach when I plan a room layout. Grab your pencil, a notebook, and be sure to bookmark this post for later!

Step 1: Consider the Function of the Room
The first question to ask yourself is what will this room be used for? The function of a room always, always dictates how you plan its layout. For example, if you never plan to use your living room as a home office, why would you need to add a desk by the window? You could place a comfortable chair there instead, perfect for cosy moments reading with a view of the yard.
Take a moment to write the desired functions you would like this particular room to accommodate. Here is a quick example of what someone might write for a living room:
- Watching your latest Netflix favourite
- Lounging and reading by the fireplace
- Occasionally working from home
- Entertaining small groups of guests, likely with drinks and small plates
- Playing games with your children or grandchildren
- At-home hobbies, like playing piano, crocheting, drawing, puzzles, etc.
Step 2: Decide Which Features will Support Those Functions
Now that you know what uses the room will ideally support, you can decide which features will help you do so. Go through each item on your list and make a list of the different types of furnishing or features you might need to achieve it.
Note: This list isn’t your final version just yet, but it is a great start that you will refine as you move through steps 3, 4 and 5. For example, you might list two items now but later discover a single item that serves multiple functions — and saves space!
To continue with our example, the living room I proposed above would likely benefit from:
- Ample seating around a TV
- Multiple seating options for guests (number will depend on room size)
- Places to store books, games, and supplies related to hobbies
- A desk or console for working or artistic endeavours
- A coffee table and end tables near seating, for holding drinks and small plates
- A rug that is good at hiding crumbs
- Your piano in an accessible location
- Lamp near the reading chair and light above the piano
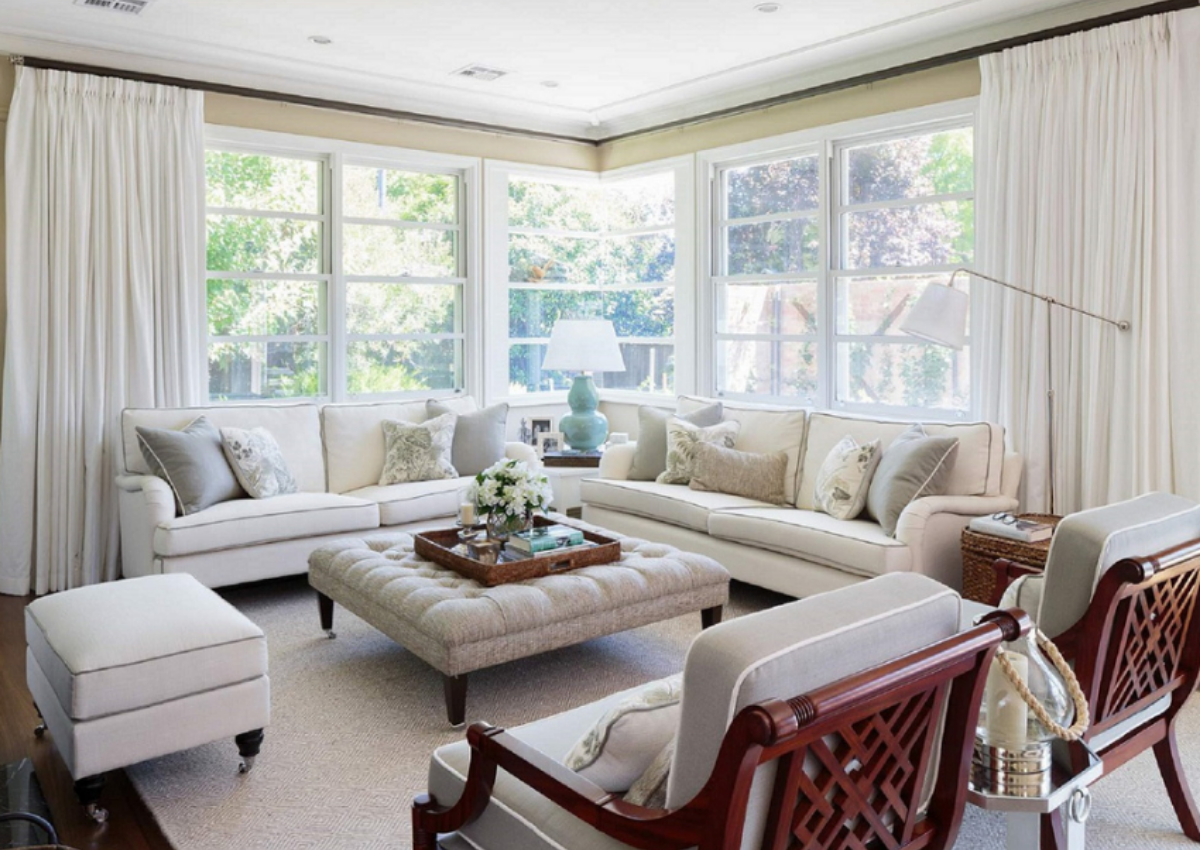
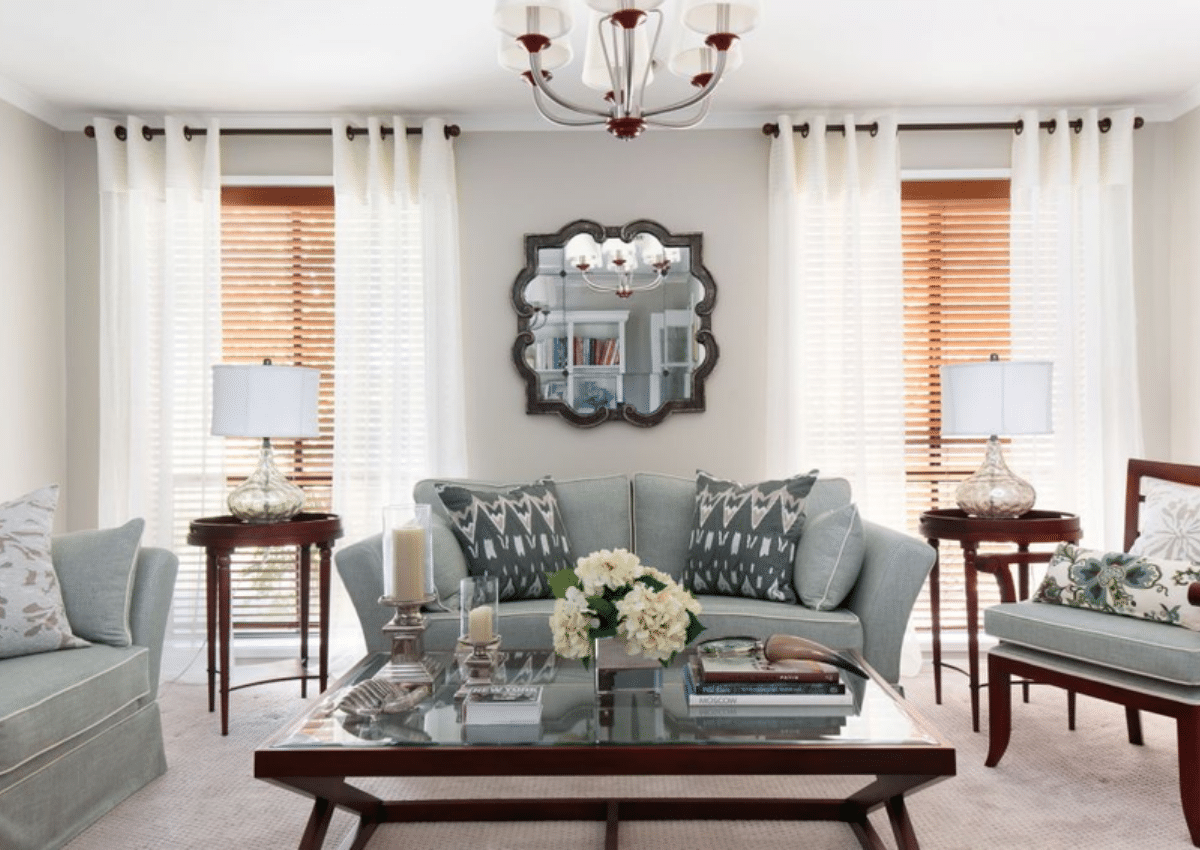
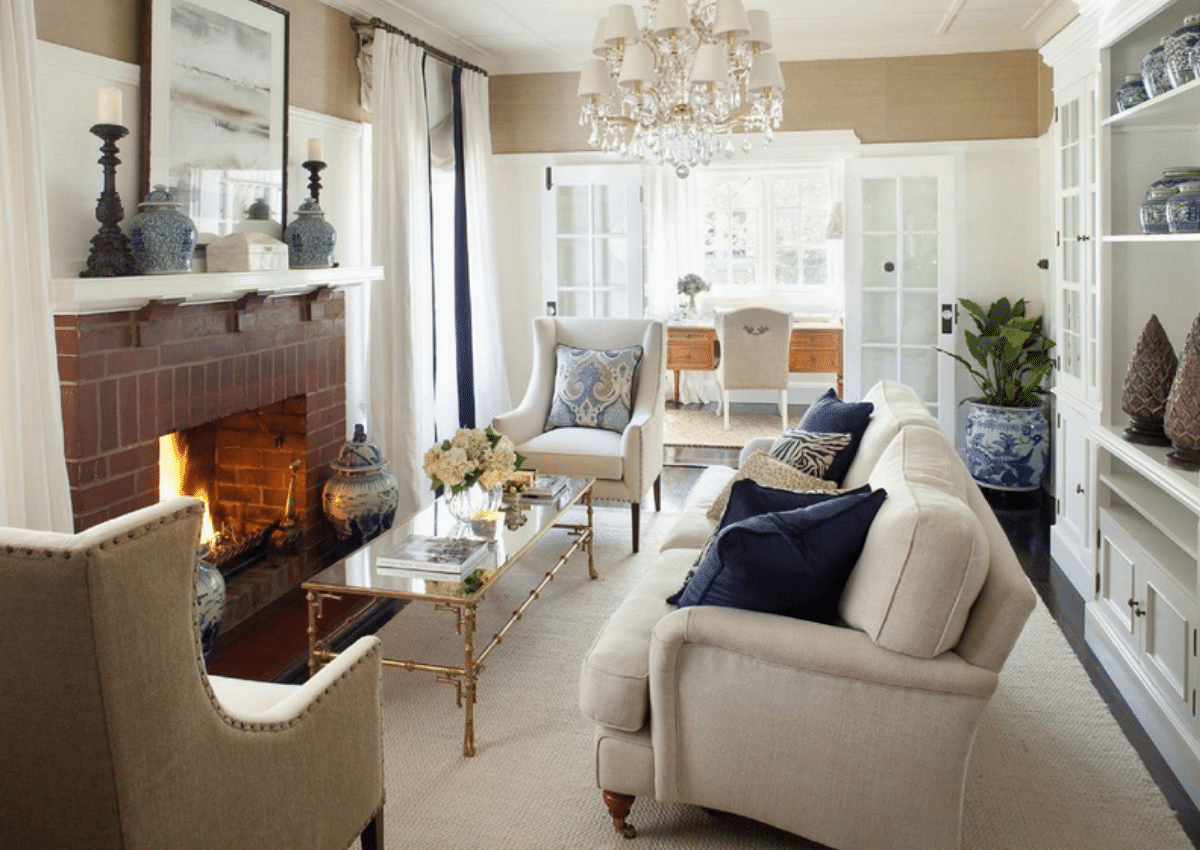
Step 3: Identify Your Focal Points & Consider the Room’s Flow
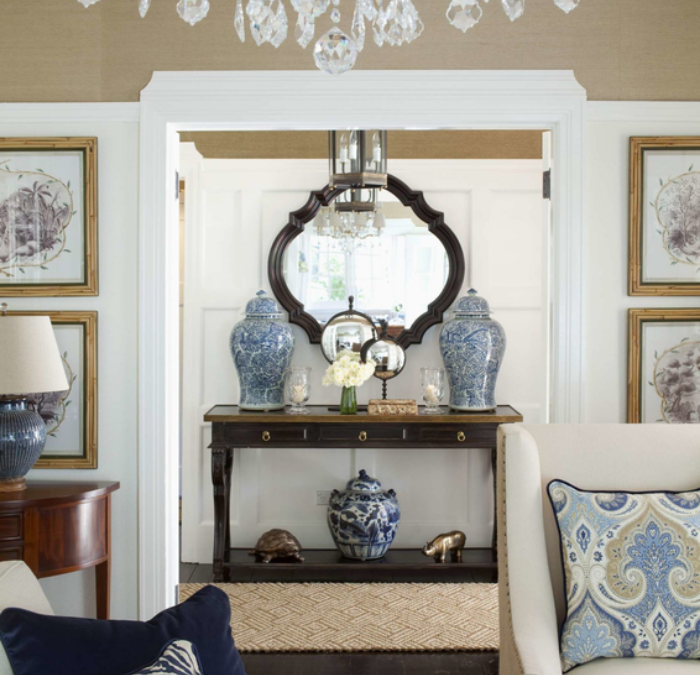
Before you can map out the room, you will also need to know where your focal points are. For most homeowners, their focal point is their fireplace, their TV (oftentimes above the fireplace), or any large windows with a beautiful view. Since your focal point is likely what you want to be looking at every day, you now have some options for where to position your seating.
Before you map anything out just yet, you will also want to consider the flow of the space, and not just the flow throughout the room itself, but also in and out of neighboring spaces. For example, is the path clear leading into the next room? Can you access your bookshelf from your reading chair or is the path circuitous? Etc.
Step 4: Create a Diagram of Your Room Layout
Now, using your pencil and paper, roughly draw out the shape of the room and add in some of the furniture you might want to assemble around the focal point. Keep your powerpoints in mind at this stage, too. If you know that you would like a lamp on your end table, you will probably want your end table against a wall where there are powerpoints.
If your room layout doesn’t look quite right on the first try, don’t worry. This is an exercise that will take some repetition and creativity to get just right. Keep sketching out options, and eventually you will see which one is the best option for your home.
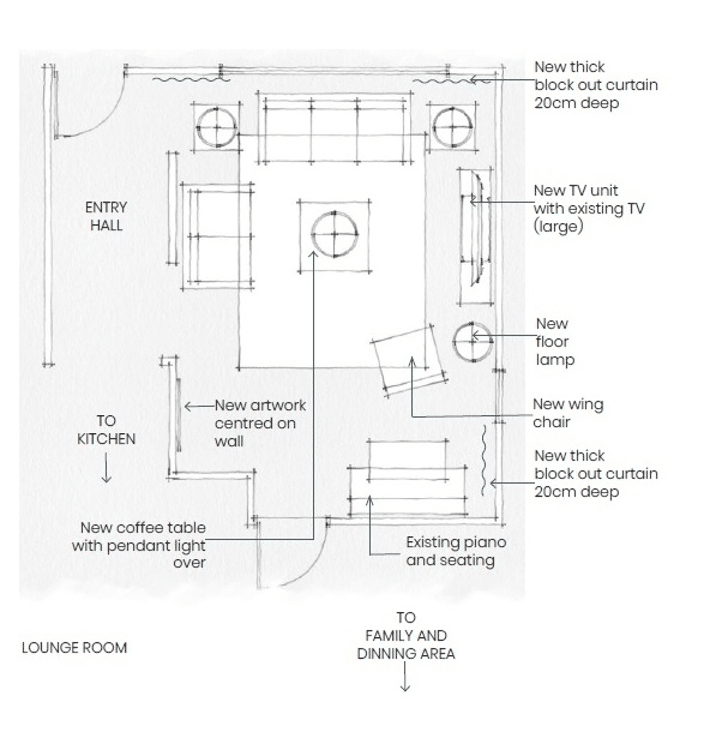
Here’s an example of a room layout for a living room:
Step 5: Finalise the Scale of Your Furnishings & Your Shopping List
The final step is the most difficult one because it requires measuring your space. Don’t skip this step! If you want to make sure all of your desired furniture fits in your space, whether it’s an existing or soon-to-be purchased possession, you will need to get out your tape measure and take the time to do it properly. Oftentimes, homeowners will map out their furnishings on paper, only to discover later that they have less available space than they thought!
So, what should you measure?
Record the length, width, and height of every wall, window, and piece of furniture in your space. (Don’t forget to measure the distance between furnishings, so that you have enough room to walk around without tripping over the coffee table and breaking your neck.)
If you are hoping to purchase new furniture for the space, you could use painter’s tape to block off a desired amount of space for the to-be-acquired piece. This will help you gauge whether the furniture is the right scale and how it looks with the other items.
As you come to realisations about what will and won’t fit into the room, refer back to Steps 1-4 to make the best decisions for your desired lifestyle. By the time you’re done, you should have a room layout, along with a list of items to purchase and exact dimensions you should be looking for!
This prevents you from acquiring items that block the view, aren’t the right size for your space, or don’t work well with the items next to them. (E.g. You don’t want a sofa that is lower than your end table — look out for bumped beverages!) Now you’re ready to action that list!
Additional Resources to Help You Plan a Room Layout
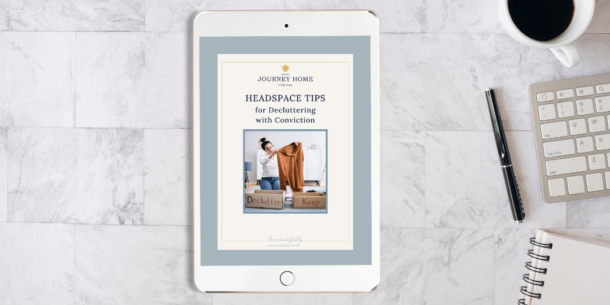
1. Our Complimentary Guide
These 5 steps should lead you to creating a room layout with confidence, but in case you’re looking for further advice and some helpful workbook pages, you can download our complimentary resource, Top 3 Things You Need to Know about Creating a Furniture Layout.
2. Our Ask an Expert Service
Or, reach out about our Ask an Expert service for 1-on-1 access to the Journey Home team and guidance in tackling any aspect of your decorating project — including how to plan a room layout!
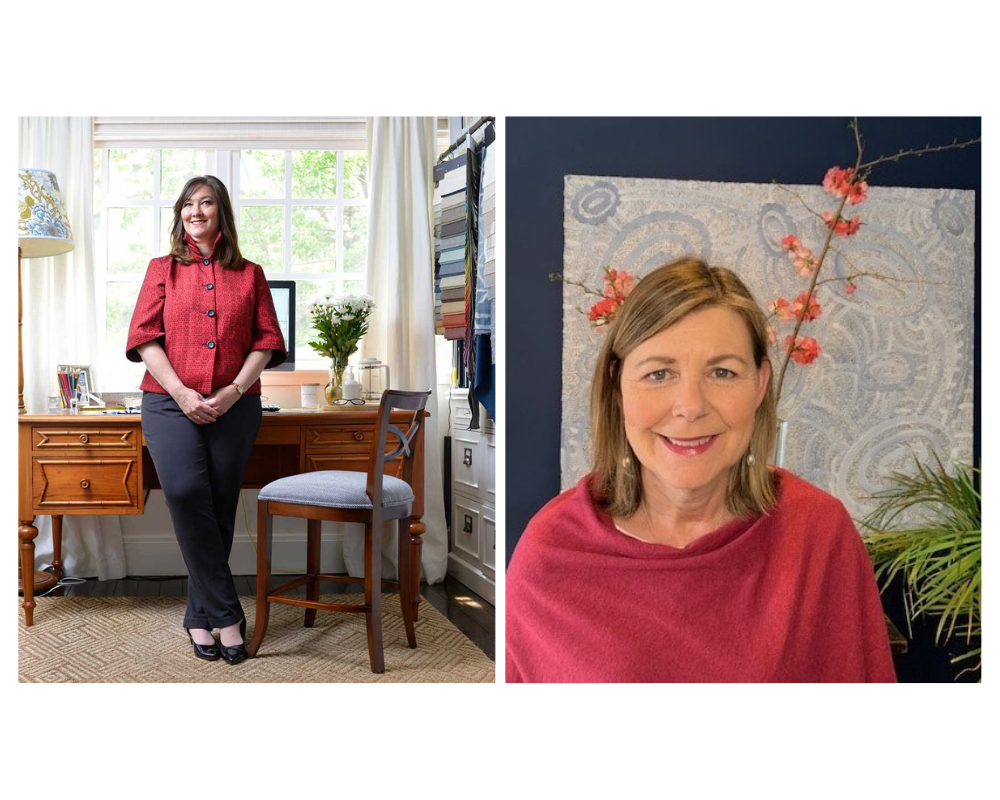
Meet Journey Home’s experienced decorators, Nadine (myself) and Lorraine
We can’t wait to meet you,
Nadine
