The finishing touches of any home, especially your forever home, is… styling accessories. This means layering in items and decor that add warmth and sophistication, invoke meaningful memories, and elevate the design.
With modern design, you can get away with almost no styling at all — minimalism and negative space are key components of the genre. But with the classic, traditional design we all love so much at Journey Home, styling simply cannot be skipped! A classic home is layered, comfortably full, and peppered with intricate details that catch your eye.
If you have been following our Plan Your Design Year Series, styling is the final step that brings your space together.
If you haven’t, not to worry. Spring and its related spring cleaning presents the perfect time to restyle. After all, you have to put back everything you have spring cleaned right? So it’s an excellent opportunity to start with fresh styling.
Today, I want to share a few foundational styling tips. However, styling is a very dense topic, which is why I will be teaching it in much greater detail within my soon-to-be-launched decorating course. So use these to get started, and then come join us when you’re ready to advance your skills.
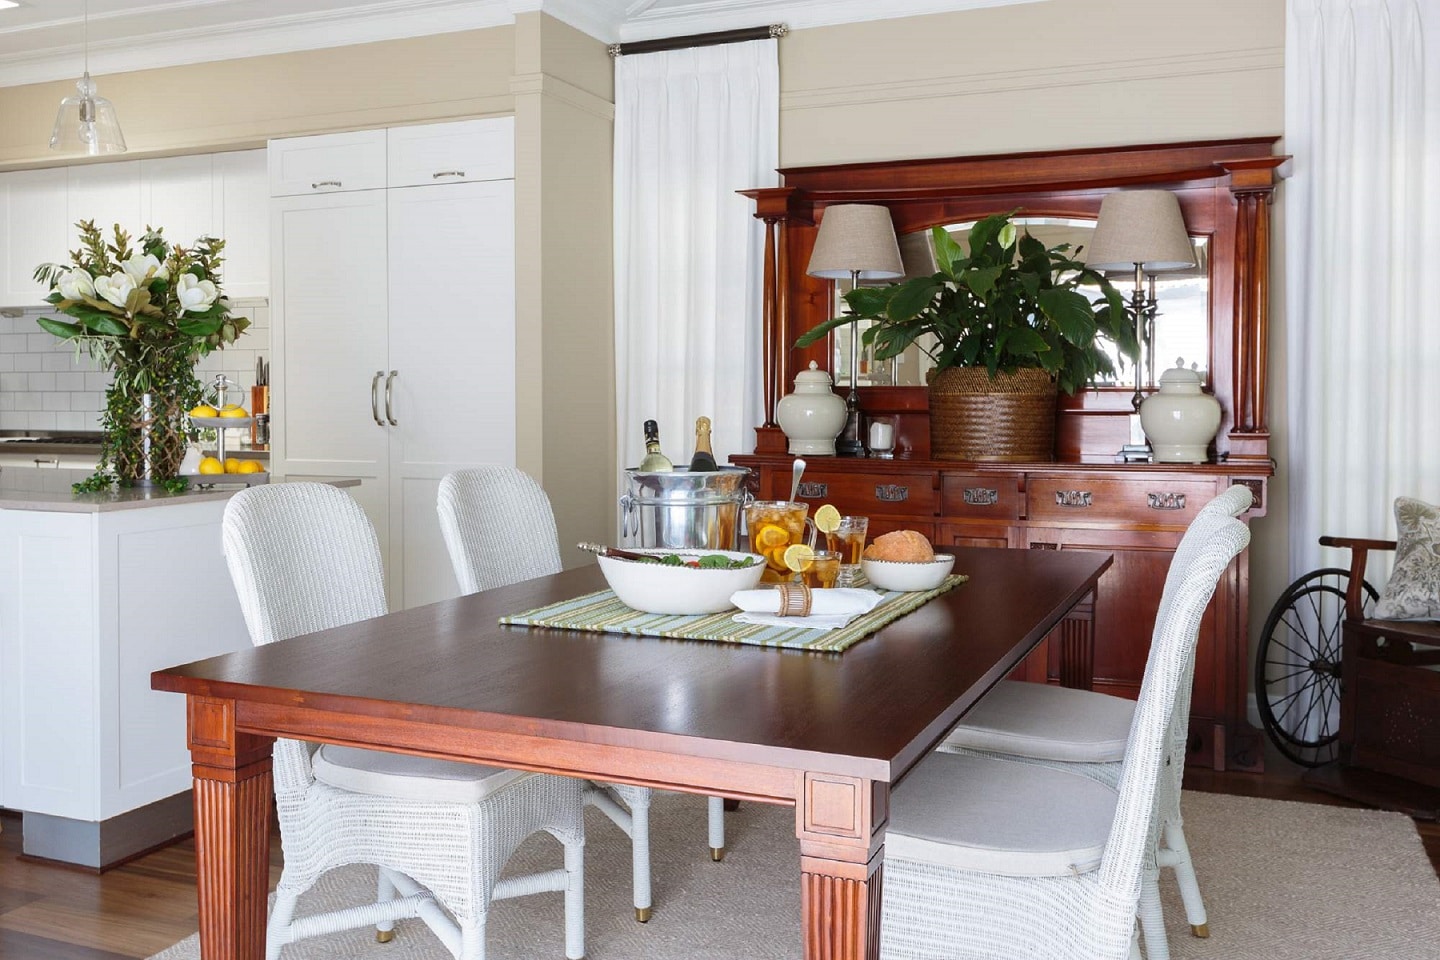
Even plants can be accessories.
Step 1: Gather Your Accessories
One of the easiest ways to refresh your home isn’t to go out and buy all new decor… it’s to “shop” your home. This involves taking a little trip from room to room and finding items that have been stuffed in a corner, hidden, or well-loved but ready for a fresh look in another room.
I also like this method because items that you have had for a long time are likely more meaningful and special to you. Cluttering your shelves with meaningless items misses the point of having a forever home that fills you with pride and helps you live beautifully. Items that inspire memories and positive emotions DO.
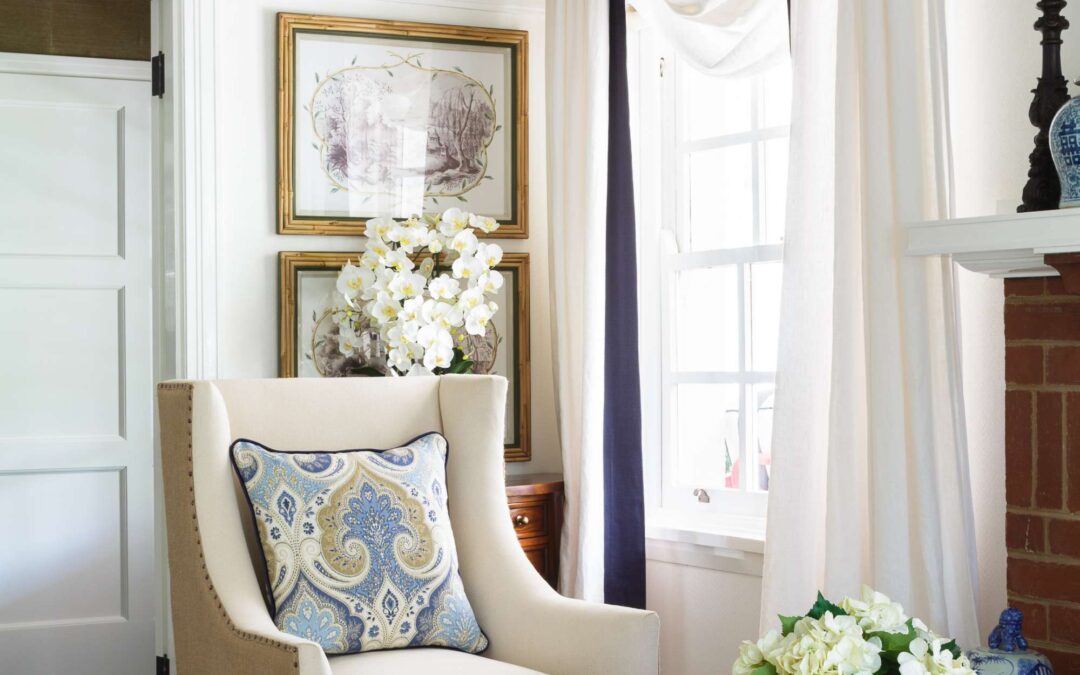
Accessories can include ginger jars, vases or pots, small antiques, books, small works of art or picture frames, candles, greenery or garden clippings, baskets, trays, etc.
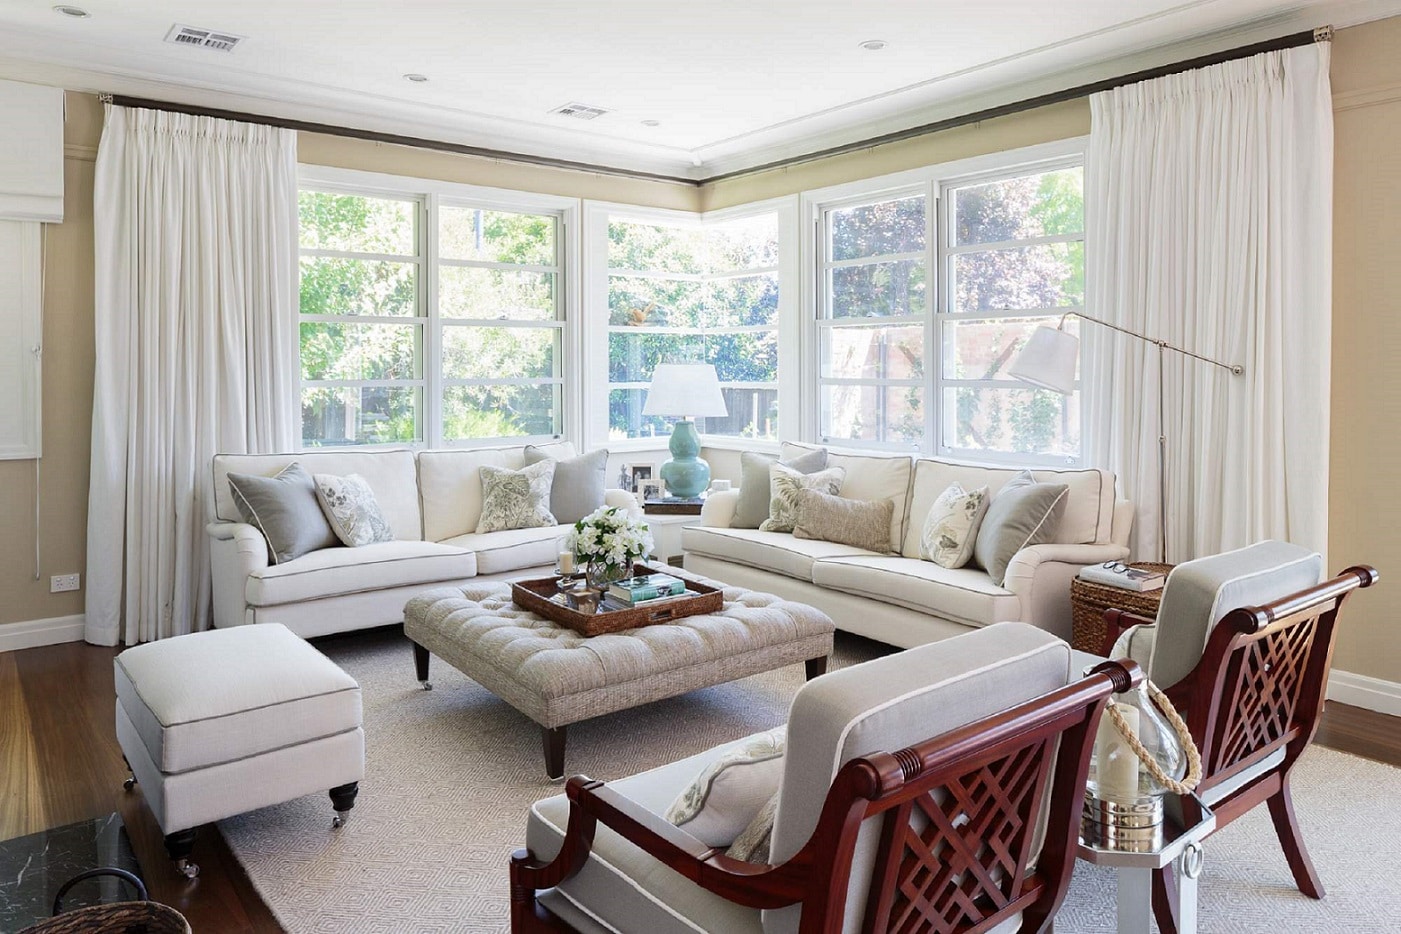
Placing a tray on a large ottoman allows you to add accessories to a soft surface.
Step 2: Group Your Accessories
Separate your accessories into groups. Do you have any themes amongst your pieces that could create a story or unified aesthetic? By this I mean… put all earthenware potty together, put all your blue and white porcelain together. Do you have a tribal or European theme that you could group? Are there colour and textural themes that go together?
I also suggest creating groupings that include items of varying heights, weights, and textures. This keeps the group looking interesting and balanced.
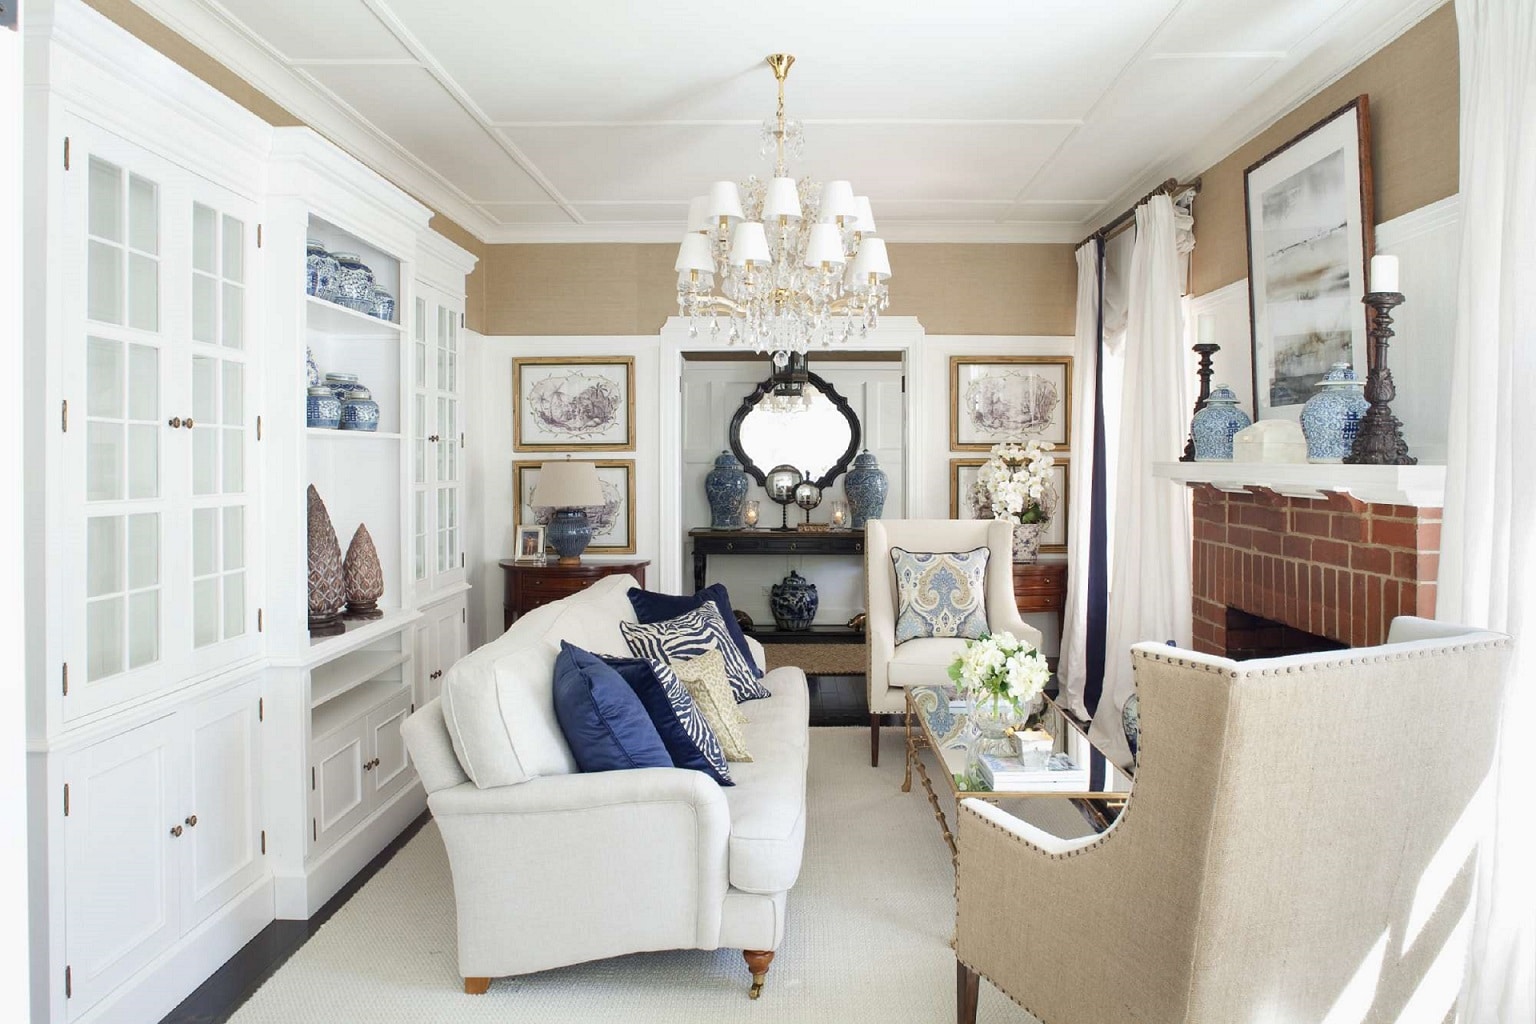
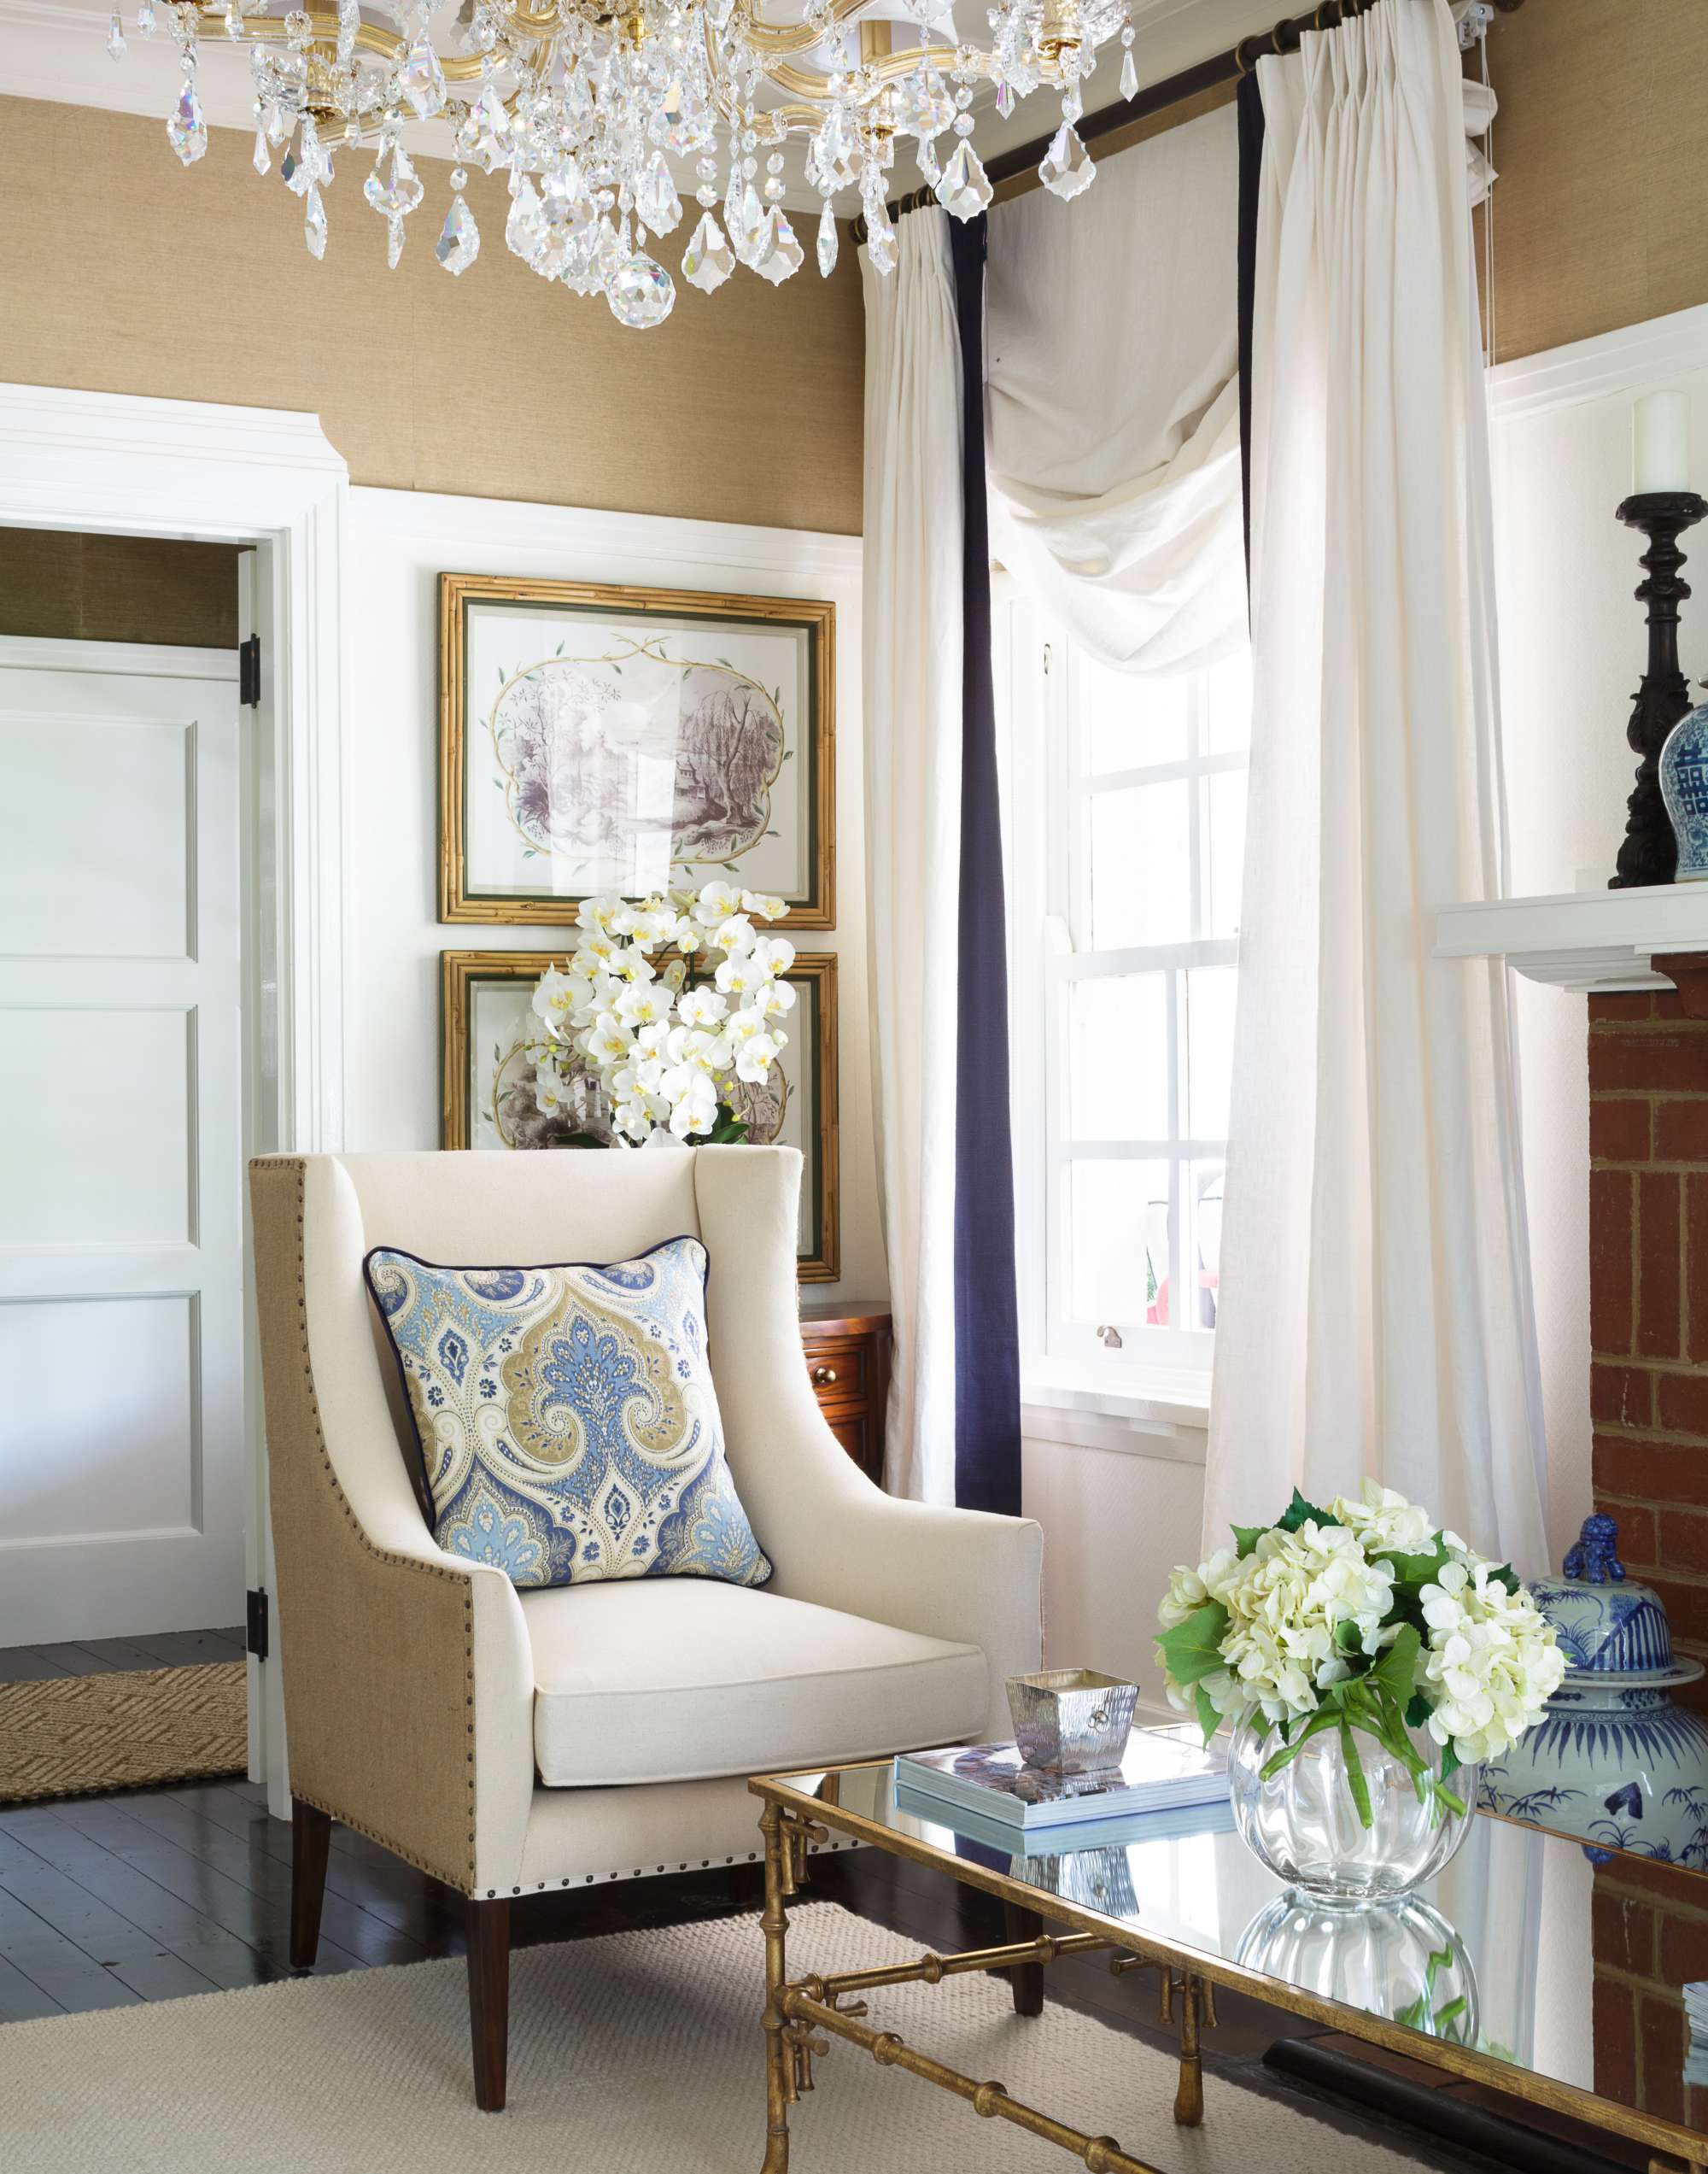
In my living room, you can see that the ginger jars (chinoiserie) are grouped together on the left (in varying heights), as well as on the mantel, where two identical-height jars create symmetry.
Top 3 Thing To Know When Creating a Furniture Layout For Function & Beauty
Download your Guide on the Top 3 Things You Need To Know When Creating a Furniture Layout Around The Home For Function & Beauty
Step 3: Layer Your Accessories throughout the Space
The final step is to add your item groupings to various places in your home that could use a little character. Some ideas could be your mantel, bookshelves, console tables, the end tables next to your sofa or bed, a coffee table, your bathroom countertop, etc.
Be open to putting things back in a different place than you found them! And remember that you don’t have to come up with the best configurations on the first try. Place your items in one location, give it some consideration for a day or two, and try them somewhere else if you aren’t loving the look yet.
In places that get a lot of use, like a coffee table, less is more. Here, a single book, candle and vase of flowers is enough.
Step 4: Don’t Forget about Your Outdoor Spaces
As I write this to you, spring just happens to be on its way. As a rule, I don’t recommend decorating for the seasons (buying and changing doona covers seasonally seems like a waste of money to me). I also believe that classic design is ALWAYS in style and lets you set it and enjoy it with little seasonal updates required.
However, as the days get longer and warmer, I see no reason why we can’t prepare our outdoor spaces for enjoyment. It might pay to dust off and hose down your outdoor furniture and rugs. You could organise new outdoor cushions and upholstery now to be ready in time for summer entertaining.
Insider Tips for Outdoor Fabrics:
- Wortley fabrics recently presented me with fabulous new collections in outdoor fabric options
- I love my Warwick outdoor fabrics (rugs, pillows) that I have had for years and are still in great condition
- The relatively new 3 Beaches textile line is offering a great range of outdoor fabrics as well
To style your outdoor space, I suggest starting with the ground level (a rug) and styling up from there.
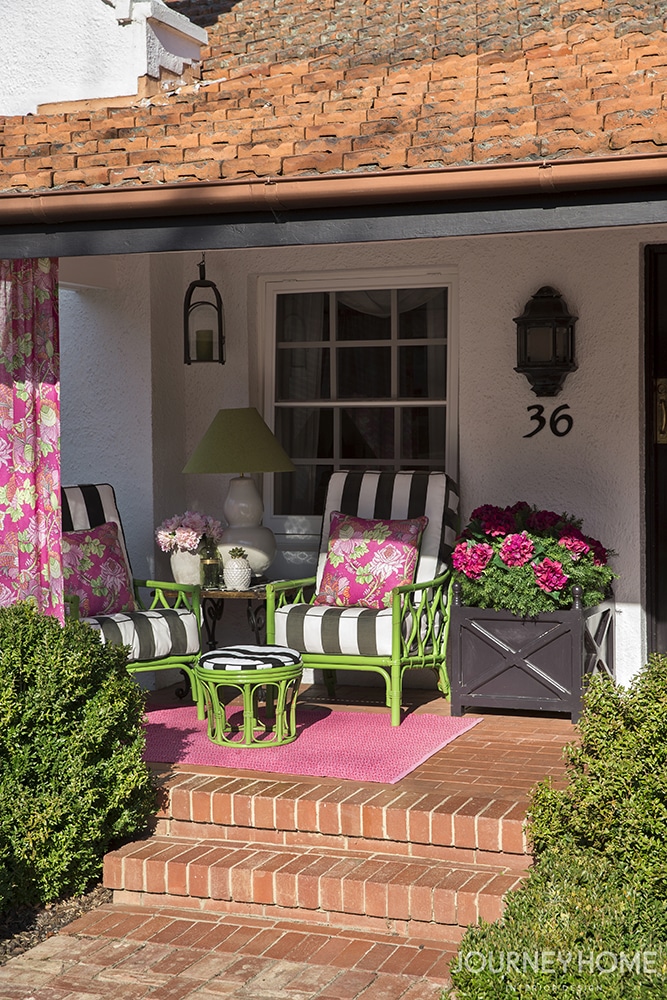
The porch of my 1930s Canberra Bungalow
Step 5: Join Us in Our Forever Home Decorating Membership
We will soon be announcing the launch of our membership for house proud women ready to create their own forever home! Stay tuned for more details…
Tip: A guest bedroom is the perfect place to try your hand at styling before moving on to more public spaces.
Well, that concludes our Plan Your Design Year Series! I hope it was helpful to you — but if you’re showing up late to the party, don’t worry. You can start the steps I suggest whenever you like. The best part about designing your forever home is that you get to do it at your pace.
And if you need help along the way, you’re not alone. My passion is helping house proud women create a forever home where they will be able to live their most beautiful, fulfilling lives. Whenever you’re ready, I am here to help.
Yours,
Nadine

